FREQUENTLY ASKED QUESTIONS
TOPAZ SIGNATURE PADS
Friday, 01 April 2016 15:29
STEP 1: Download Drivers and Software
Click on the following link to grab the newest software version.
http://www.topazsystems.com/software/sigplus.exe
STEP 2: Install the Programs and Drivers
- Open the program that was downloaded and run.
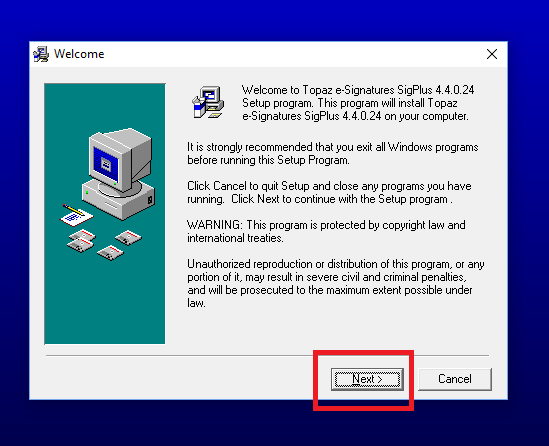
- Click Next to begin the installation process.
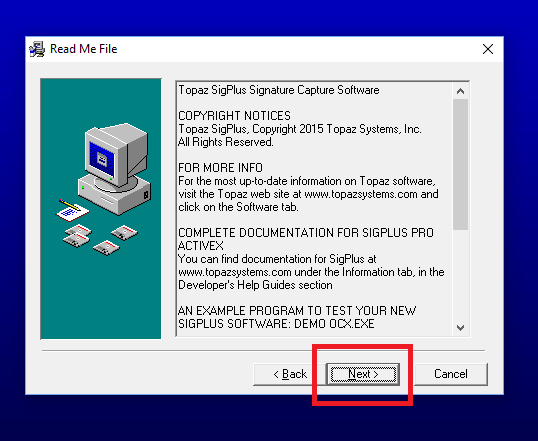
- Click Next to agree to the terms.
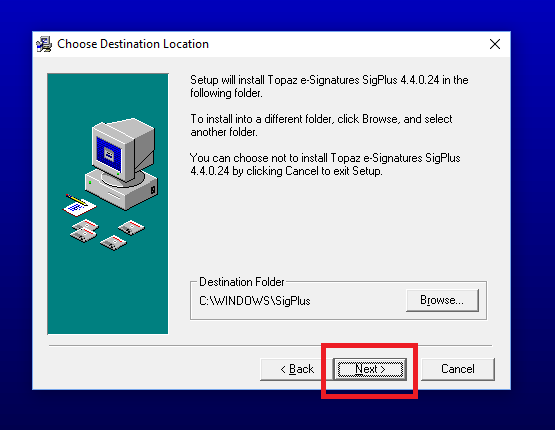
- Click Next to keep the default installation location.
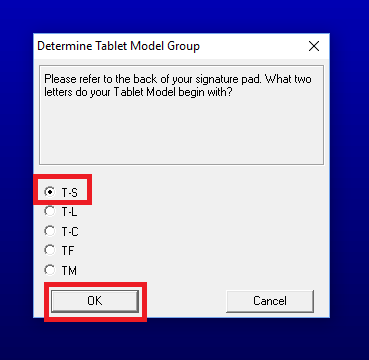
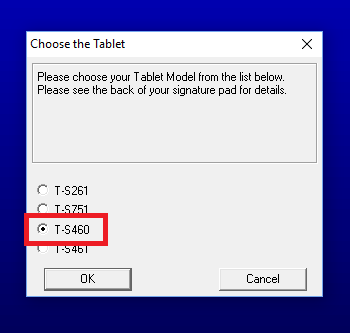
- Select your model number through the next two screens. You can find this under the topaz signature pad usually.
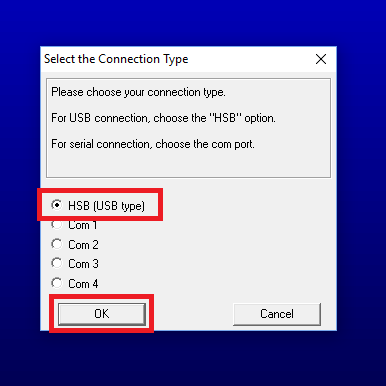
- If your topaz is a USB (most are), please select HSB (USB type) and click OK.
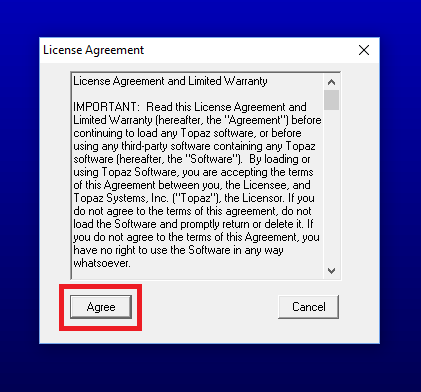
- Click Agree to agree to the license.
- Hit OK to install the Demo OCX program (this is used to test if it is working properly)
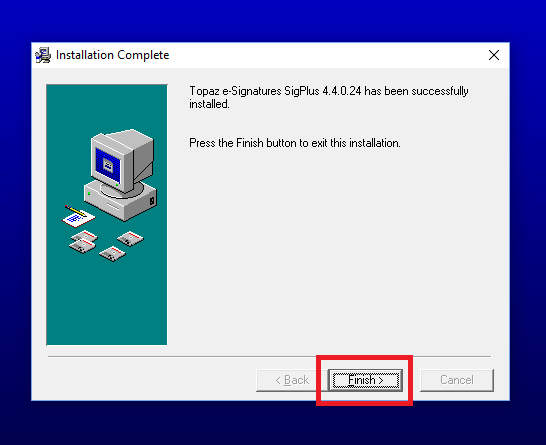
- Click Finish ti complete the installation process.

STEP 3: Configure DigitalPOS and DigitalRx
STEP 4: Test Signature Pad
- Test the signature pad in either DigitalPOS or DigitalRx.